3D printing has been attributed as a driving force of the Fourth Industrial Revolution and has been used to advance many industries including science and business, specifically dentistry, over the last few years.
In dentistry, 3D printing can be used to create 3D dental models and other dental appliances right in the office, saving a substantial amount of time and money, and allowing a patient to receive treatment almost immediately. EnvisionTEC is a leading global provider of professional-grade 3D printing solutions, including a variety of dental 3D printers and supporting materials.
Why 3D Printed Models
What 3D Printed Dental Models Are Used For
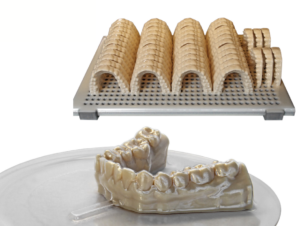
3D printing allows dentists to create models quicker and with more accuracy than traditional methods. They are used to plan dental treatments and make it easy to show the patient expected results. The use of dental 3D printer technology, both the supporting software and the actual prints, allow patients to be more involved in their care, which in some cases can help them be enthusiastic rather than hesitant. Patients have a more realistic expectation of what the final work will look like and how it will improve their daily lives.
How to Create 3D Printed Dental Models
There are three main steps for creating 3D printed dental models in dentistry
- Using a 3D scanner, a dentist or technician takes a digital image of the object or part of the mouth that needs to be modeled.
- The digital file is then fed into computer software that converts it to a form that can be read by the 3D printer.
- The file is then sent to the printer and the 3D model is printed.
Using dental 3D printers to create models is much faster than traditional molding methods that are uncomfortable for patients and can take a few days to complete.
Other Dental 3D Printer Use Cases
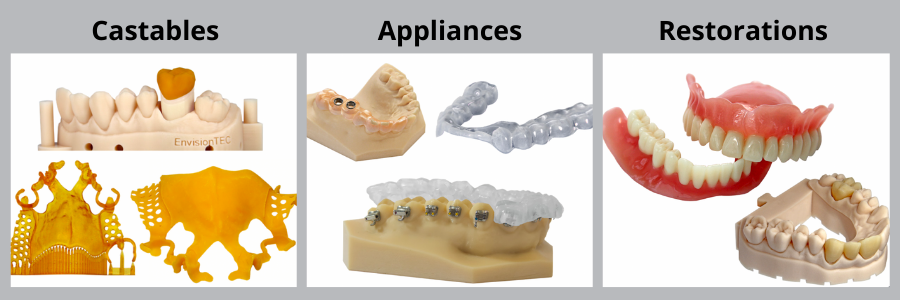
Investing in a dental 3D printer can support practices beyond just creating 3D models. Using these printers, dentists can also create:
- Castables such as crowns and bridges can be constructed with a 3D printer rather than having to send molds to outside labs to do the work.
- Restoration pieces like dentures, implants, and veneers can be quickly made with a 3D printer after a digital scan of the patient’s mouth.
- Appliances such as retainers and bite splints can be quickly and efficiently manufactured with a 3D printer.
Benefits of Using Dental 3D Printers
The benefits of 3D printing in dentistry are extensive, for both the dentist and the patient. Dentists and technicians no longer have to spend time taking impressions and making plaster mockups of the patient’s teeth and they don’t have to send it to an independent lab to have the work done. Likewise, patients no longer have to sit through the uncomfortable process. In many instances, 3D printing can produce dental devices without patients having to leave the chair over a matter of hours instead of multiple appointments across weeks.
Using dental 3D models improves the patient experiences and shortens the process for creating custom appliances.
Using EnvisionTEC Printers for 3D Printed Dental Models
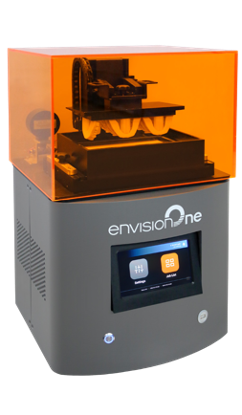 One of the main reasons the Envision One cDLM (Continuous Digital Light Manufacturing) is the best Dental 3D printer on the market today is its ability to use a wide range of materials. In addition to material support, the Envision One cDLM is the most advanced desktop 3D printer ever made combining, print speed, technical innovation, detailed resolution, and ease of use. It stands out because of its top-notch accuracy with its patented-advanced DLP (digital light projector) technology that builds highly-detailed prints with a smooth, beautiful finish. It prints devices at an efficient speed that will have patients in and out of the chair far quicker than using normal methods.
Looking for a dental 3D printer with other specifications?
EnvisionTEC offers a whole variety of dental 3D printers.
Find your perfect fit using our 3D printer selection wizard:
Create 3D Printed Dental Models with Ease Using EnvisionTEC
Dentists who use the Envision One cDLM Dental have gained a competitive edge for their practice while saving money, providing more convenient care to patients, and managing most of their operations under their own roof.
Want to learn more about the Envision One cDLM Dental 3D printer or our other available dental printers? Just fill out the form below.