New Printer Options
We no longer sell the Markforged line of 3D printers, but we do offer the leading open source material printers from German RapRap, incredible printers from EnvisionTEC, and latest industrial printers from MakerBot. Check them out below.
I’ve been having problems with the back door of my house where the latch plate was loose therefore making the door difficult to open and close. The door is a typical steel entry way door containing a strip of wood sandwiched between the steel panels for the screws of the latch plate to screw into. A very common occurrence on this type of door design is that over time, the action of opening and closing the door causes this wood to split which in turn causes the screws to loosen. The first fix people tend to do, myself included, is to use a larger screw which may work for a little while but will also eventually fail.

Figure 1.
While the simplest, albeit more expensive solution is to buy a new door, I personally tend to want to fix broken items rather than immediately replace them so decided I’d explore how I could fix it. Figure 1 shows the door with the latch removed and you can clearly see the split wood and the screw holes which were worn larger by the movement of the screws tearing into the wood.
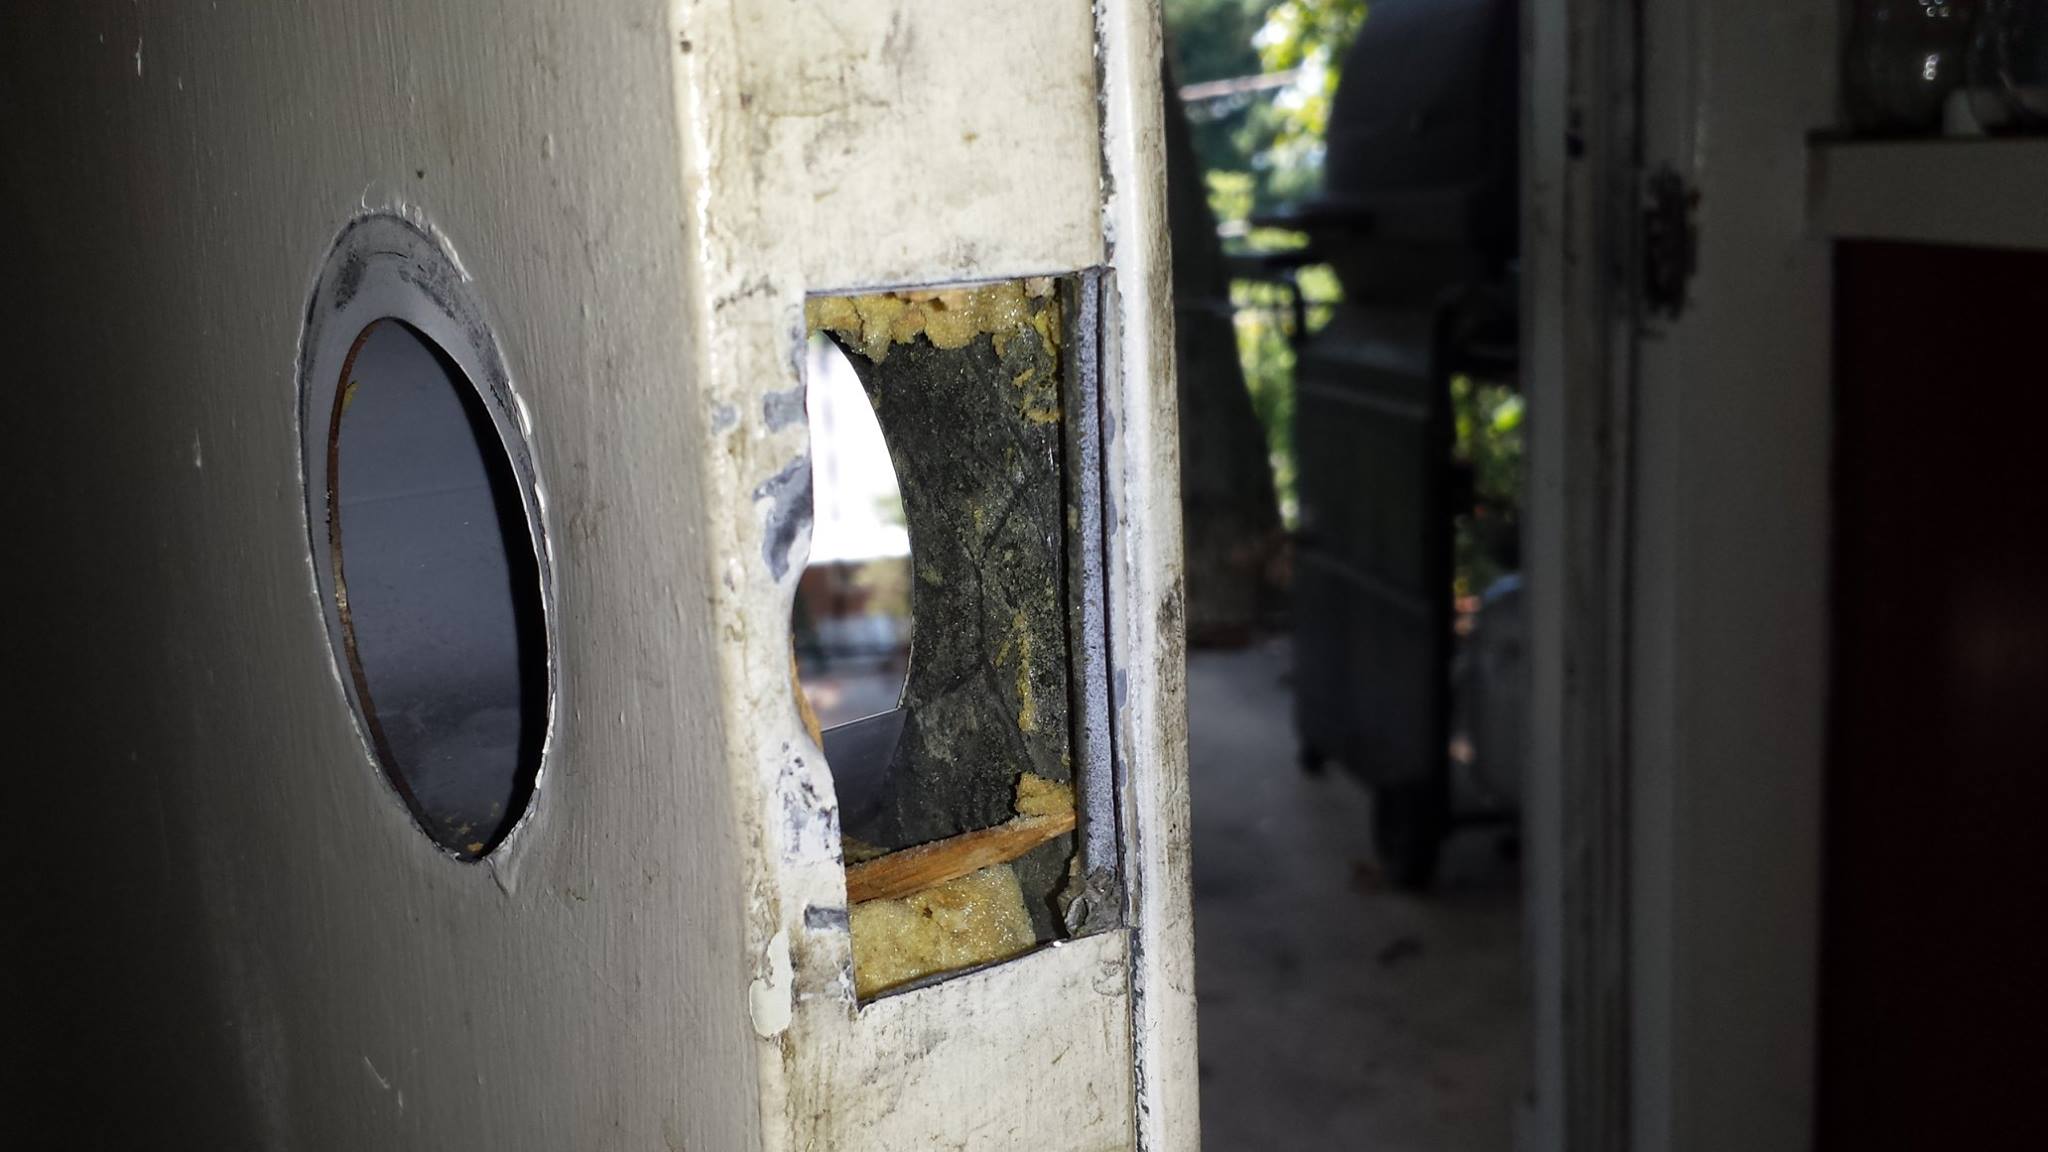
Figure 2.
I had the exact same problem several years ago with my front door and fixed it by replacing the split wood with a new piece of wood to which the screws could bite into. That was before I had access to a Mark One 3d printer from MarkForged and this time around, I decided I’d try a different approach. It occurred to me, instead of replacing the wood with another piece of wood I’d instead make a 3d printed nylon part and use that instead. I started by using a wood chisel to remove the split wood from the door as can be seen in Figure 2. Due to the difficulty in being able to cut the wood cleanly at the top and bottom of the opening, I used an epoxy putty to fill the top and bottom so I had a nice rectangular opening for my nylon replacement piece to fit into.
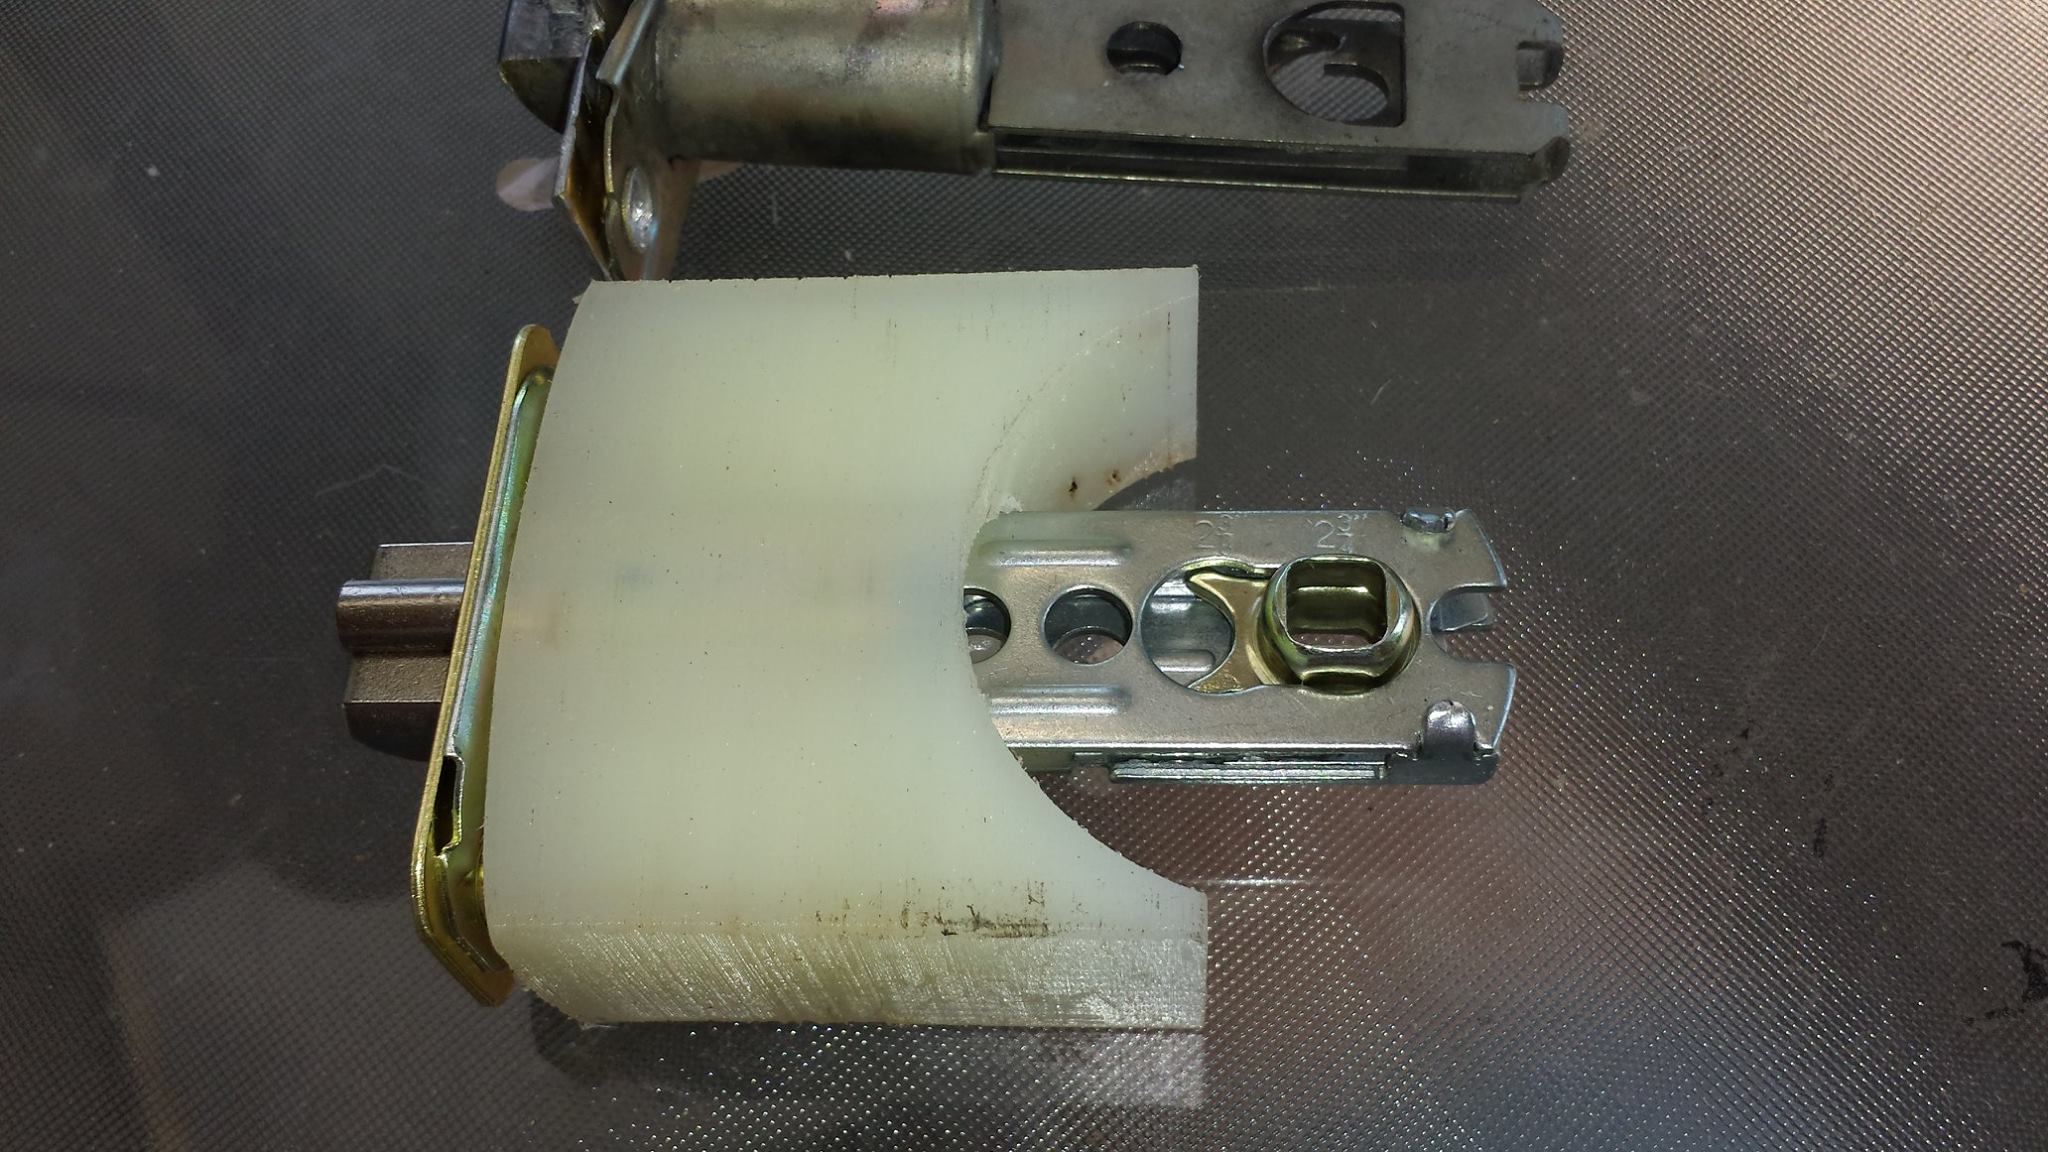
Figure 3.
I then designed and printed a nylon part as shown in Figure 3. It was designed to fit into the rectangular opening with tiny grooves around the outside to help the epoxy to hold better. I then epoxied it into the door, Figure 4, and let the epoxy cure.
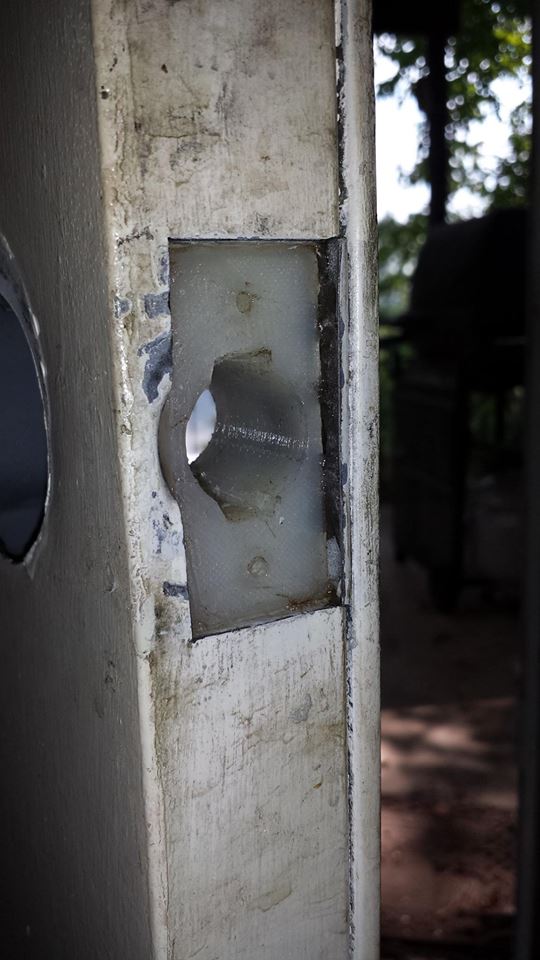
Figure 4.
Once cured I then had a solid mounting for the latch plate, Figure 5. While time will be the judge, I believe my nylon insert solution is a far superior solution than the original wood. Nylon, while tough is also somewhat flexible so it should be able to absorb the forces from the two screws when opening and closing the door.
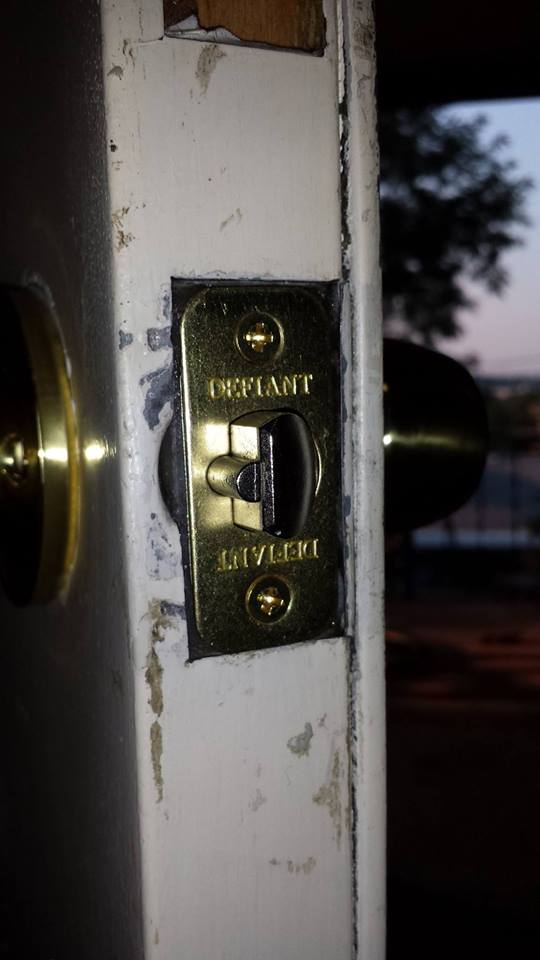
Figure 5.